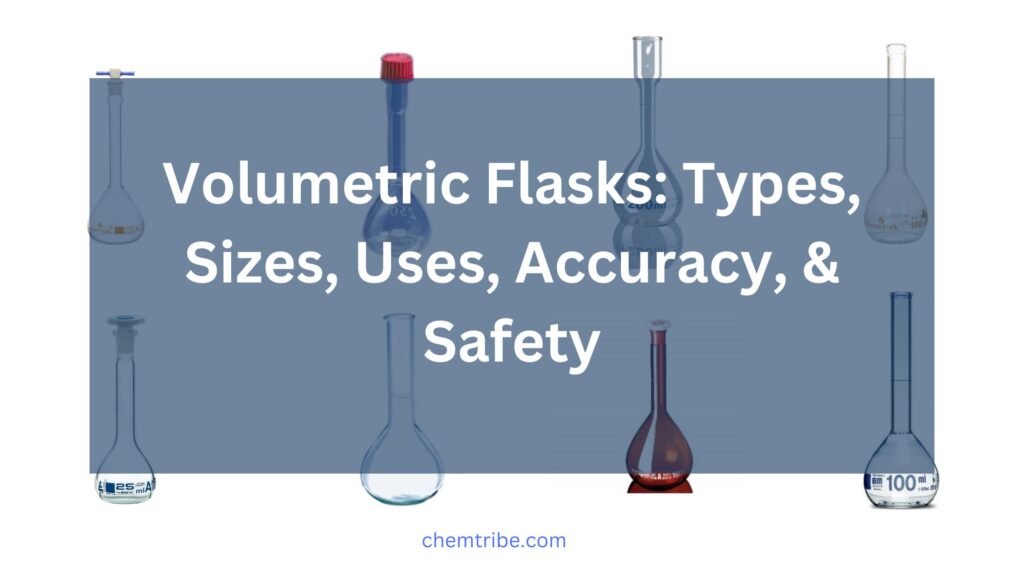
Volumetric flasks are essential laboratory glassware designed for precise measurement and preparation of liquid solutions. Recognizable by their pear-shaped body and long, narrow neck, these flasks are calibrated to hold a specific volume with a high degree of accuracy. They are commonly used in analytical chemistry, pharmaceuticals, and research laboratories for tasks such as preparing standard solutions, diluting samples, and conducting quantitative chemical analyses.
The accuracy of volumetric flasks makes them superior to other measuring tools like beakers and graduated cylinders when precision is critical. Available in various sizes, from a few milliliters to several liters, they come in both glass and plastic versions to accommodate different chemical compatibility needs. Proper handling, measurement techniques, and safety precautions are crucial to ensuring reliable results and preventing contamination or measurement errors.
This guide will explore the different types, sizes, uses, accuracy, and safety considerations when working with volumetric flasks, helping you understand their importance in laboratory settings.
- Types of Volumetric Flasks
- Sizes of Volumetric Flasks
- How to Use a Volumetric Flask
- How to Read a Volumetric Flask
- Volumetric Flask vs. Graduated Cylinder: Key Differences
- Volumetric Flask vs. Erlenmeyer Flask: Key Differences
- Why Are Volumetric Flasks More Accurate?
- Safety Precautions When Using a Volumetric Flask
Types of Volumetric Flasks
Volumetric flasks come in different types, each designed for specific laboratory applications. They vary based on their material, calibration standard, and specialized functions. Below are the main types of volumetric flasks:
1. Glass vs. Plastic Volumetric Flasks

- Glass Volumetric Flasks:
- Made from borosilicate or soda-lime glass.
- Highly resistant to chemical reactions, heat, and solvents.
- Ideal for precise measurements in analytical chemistry.
- More fragile compared to plastic.
- Plastic Volumetric Flasks:
- Typically made from polypropylene (PP) or polymethylpentene (PMP).
- Resistant to breakage, making them suitable for fieldwork and educational labs.
- Some may be unsuitable for organic solvents due to potential chemical interactions.
2. Class A vs. Class B Volumetric Flasks
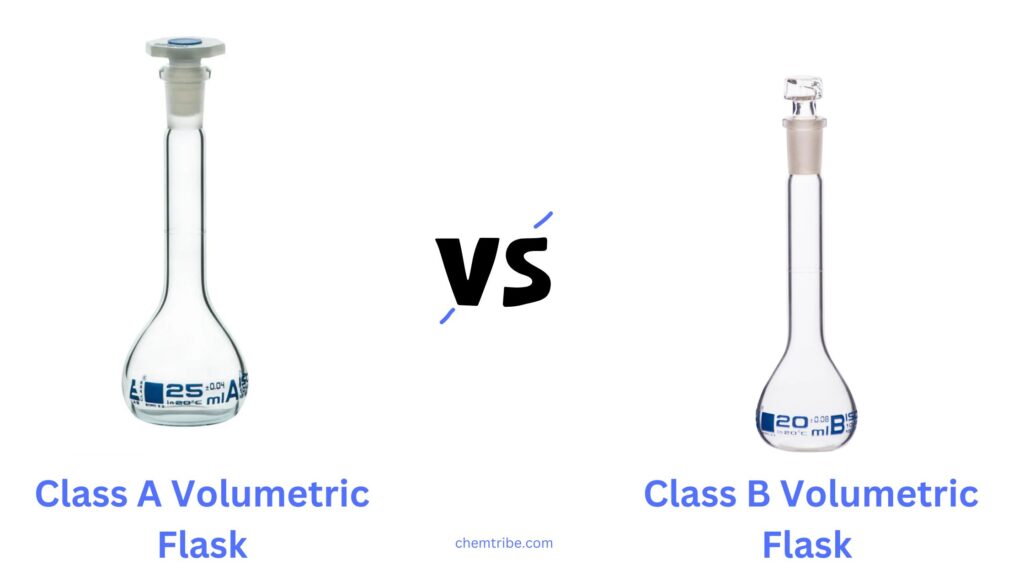
- Class A:
- Higher accuracy and precision (narrower tolerance limits).
- Calibrated according to strict standards (e.g., ASTM, ISO).
- Used for analytical and pharmaceutical applications requiring high accuracy.
- Often comes with a certification of accuracy.
- Class B:
- Less precise than Class A, with wider tolerance limits.
- More affordable and used for general laboratory purposes.
- Suitable for preparatory work where high accuracy isn’t critical.
3. Single-Volume vs. Multi-Volume Volumetric Flasks
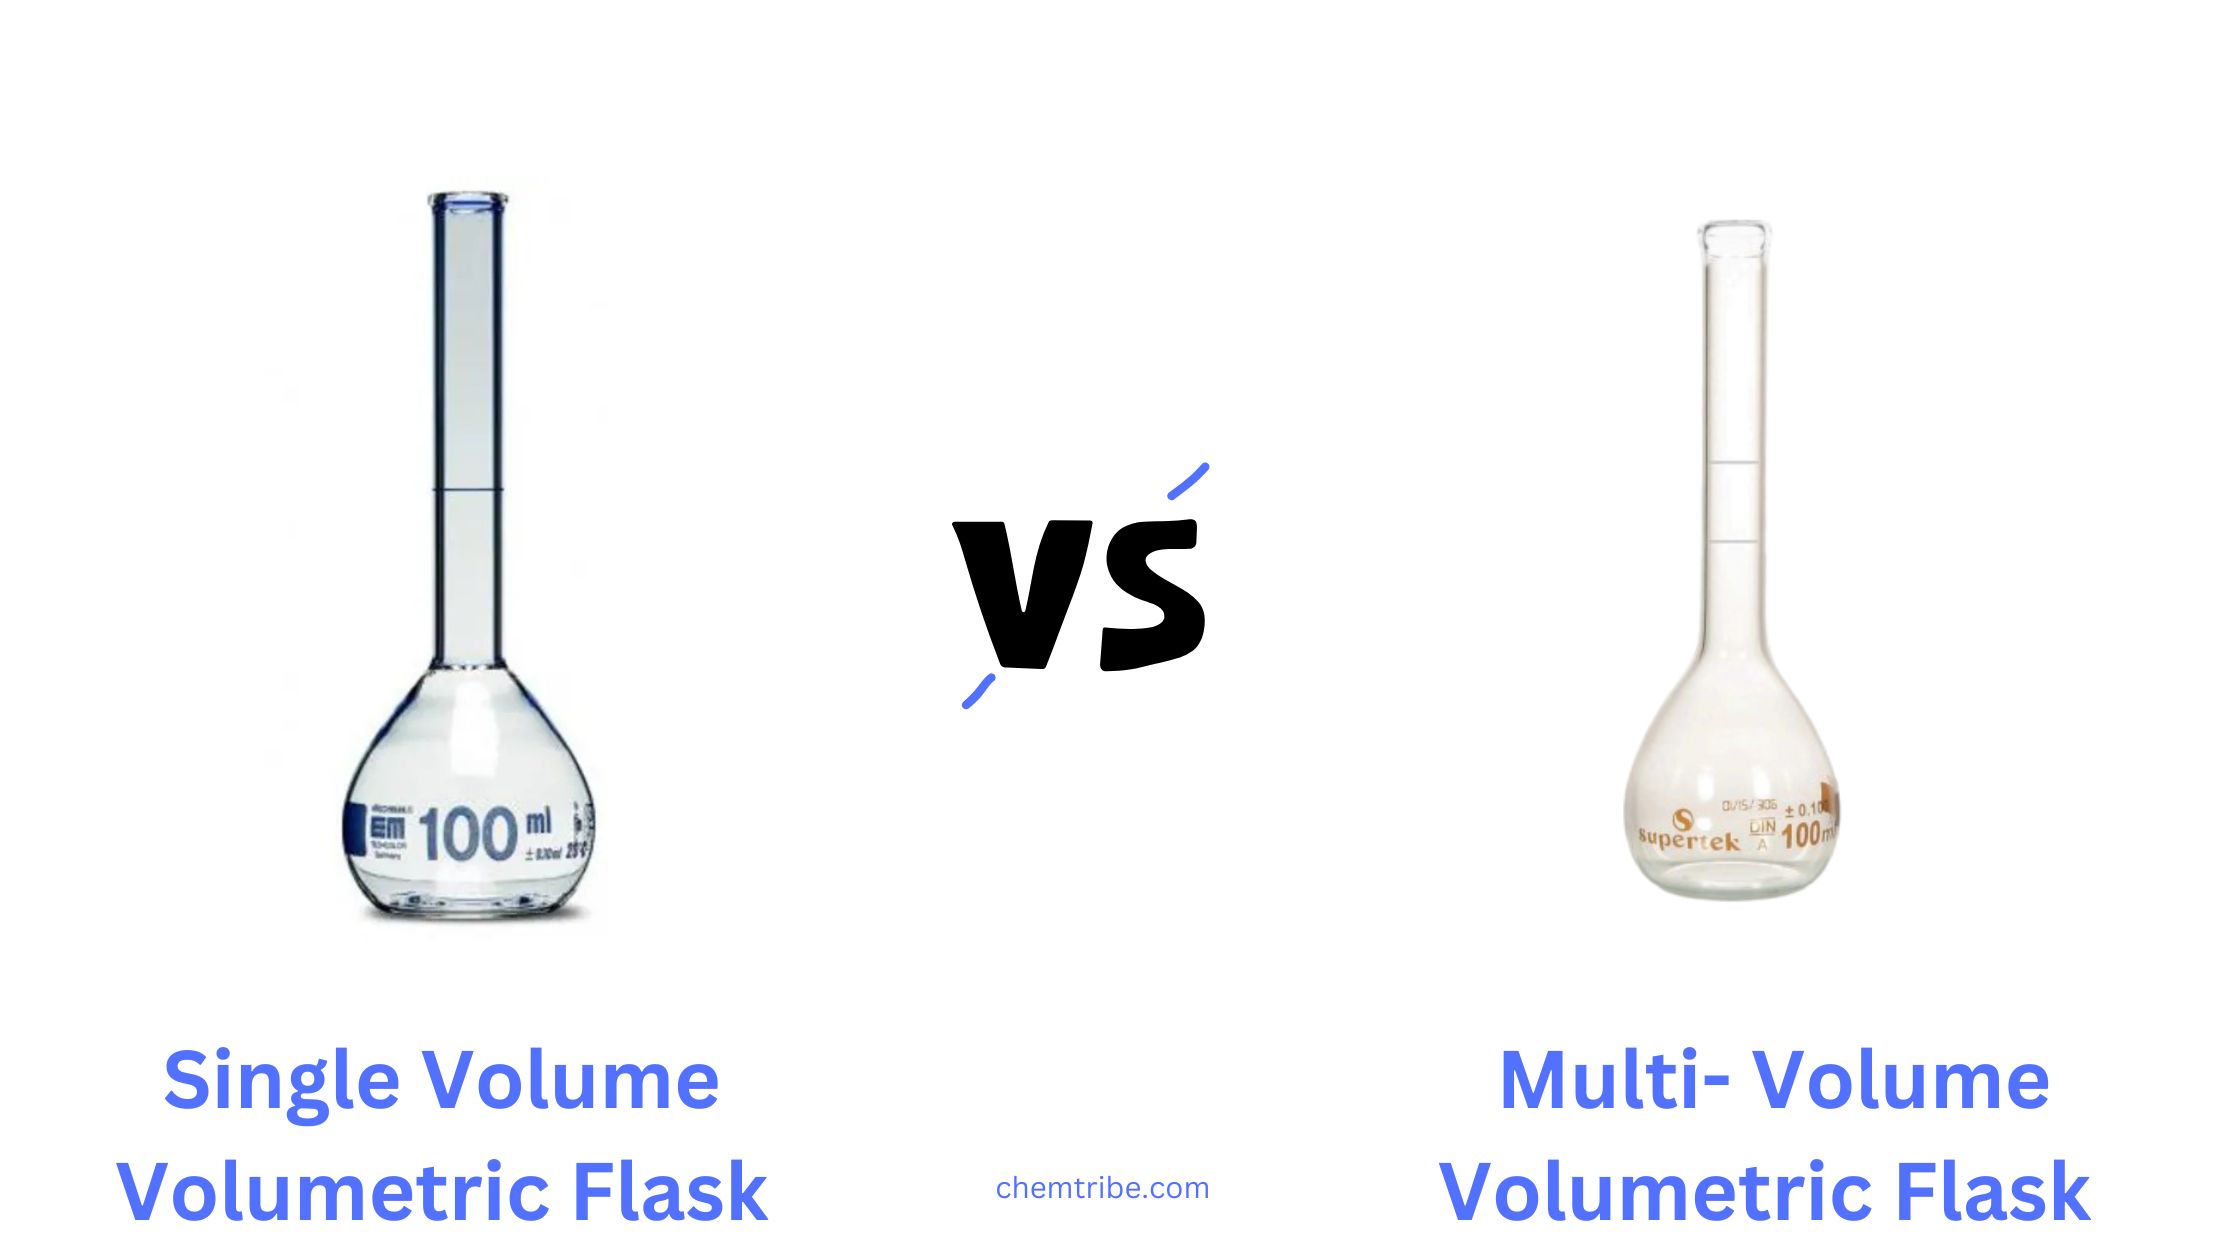
- Single-Volume Flasks:
- Designed for measuring a fixed, specific volume (e.g., 100 mL, 250 mL, 1 L).
- Most common type used in laboratories.
- Multi-Volume Flasks:
- Have multiple graduation marks to measure different volumes.
- Less precise but more versatile for preparatory work.
4. Amber (Dark Glass) Volumetric Flasks
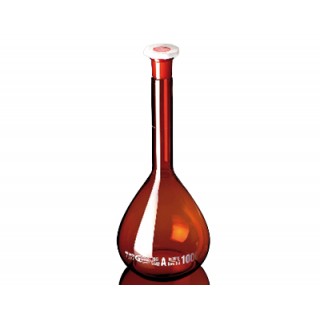
- Designed to store and prepare light-sensitive solutions (e.g., silver nitrate, vitamin solutions).
- Made from brown or amber-tinted glass to prevent light degradation.
- Used in pharmaceutical, biochemical, and environmental laboratories.
5. Volumetric Flasks with Special Features
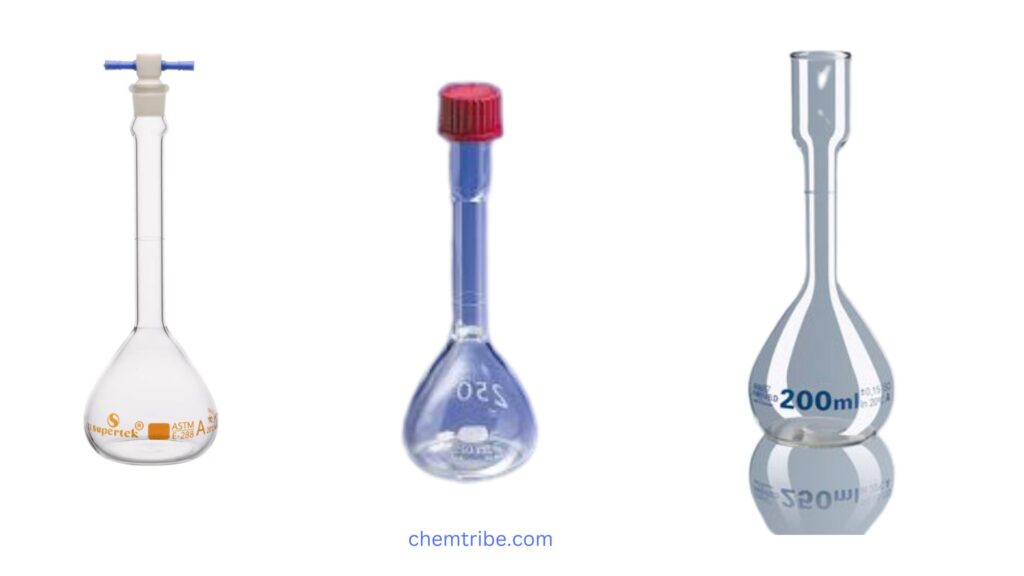
- Ground Glass Stopper vs. Plastic Stopper:
- Ground glass stoppers provide airtight sealing for precise solution preparation.
- Plastic stoppers are lightweight and resistant to certain chemicals.
- PTFE (Teflon) Stopper Volumetric Flasks:
- Chemically resistant and suitable for highly reactive solutions.
- Wide-Neck Volumetric Flasks:
- Easier to fill and clean but may reduce precision in volume measurement.
Sizes of Volumetric Flasks
Volumetric flasks come in a wide range of sizes, designed for different laboratory needs. The choice of size depends on the required volume of solution, precision, and the scale of the experiment.
1. Standard Sizes of Volumetric Flasks
Volumetric flasks are manufactured in standardized sizes to ensure consistency in laboratory measurements. Common sizes include:
- Small Capacity: 1 mL, 2 mL, 5 mL, 10 mL, 20 mL, 25 mL
- Medium Capacity: 50 mL, 100 mL, 200 mL, 250 mL, 500 mL
- Large Capacity: 1 L (1000 mL), 2 L (2000 mL), 5 L (5000 mL), 10 L (10,000 mL)
2. Choosing the Right Size for Different Applications
- Micro-Scale Experiments (1 mL – 10 mL):
- Used for highly concentrated solutions or analytical chemistry requiring minimal volume.
- Common in pharmaceutical and biochemical research.
- General Laboratory Use (25 mL – 500 mL):
- Ideal for routine solution preparation in academic and industrial labs.
- Most frequently used in titrations, buffer preparation, and reagent dilution.
- Bulk Preparations (1 L – 10 L):
- Used for large-scale solution preparation in manufacturing, water treatment, and environmental testing.
- Requires careful handling due to their size and weight.
3. Effect of Size on Accuracy
- Smaller flasks (≤ 50 mL) have higher precision but are prone to greater percentage errors.
- Larger flasks (≥ 1 L) may have slightly lower precision due to minor variations in volume measurement.
- Class A flasks maintain high accuracy across all sizes, while Class B flasks have slightly wider tolerances.
4. Custom and Specialty Sizes
Some manufacturers provide custom volumetric flasks tailored for specialized research needs, including non-standard volumes (e.g., 750 mL, 1.5 L) or high-capacity flasks beyond 10 L.
How to Use a Volumetric Flask
Using a volumetric flask correctly is essential for accurate solution preparation. Follow these steps to ensure precision and reliability in your measurements.
1. Preparation and Inspection
- Choose the correct size and type of volumetric flask for your solution.
- Check for cracks, scratches, or residue that could affect accuracy.
- Ensure the stopper (glass, plastic, or PTFE) is clean and fits properly to prevent leaks.
2. Measuring and Adding the Solute
- Use a weighing balance to measure the correct amount of solute if preparing a solution by mass.
- Transfer the solute into the flask using a funnel to prevent spillage.
- If the solute is a liquid, use a pipette or burette for precise transfer.
3. Adding Solvent (Initial Dilution)
- Add distilled or deionized water (or other solvent) to dissolve the solute.
- Do not fill to the calibration line yet—stop at about half to three-quarters full.
- Swirl or gently invert the flask to help the solute dissolve completely.
4. Final Dilution to the Mark
- Slowly add more solvent until the meniscus (curved liquid surface) touches the calibration mark on the neck of the flask.
- Ensure your eye level is at the same height as the mark to avoid parallax errors.
5. Mixing the Solution
- Place the stopper securely on the flask.
- Invert the flask multiple times (typically 10–15 times) to ensure even mixing.
- Avoid shaking vigorously, as this can cause air bubbles.
6. Storage and Handling
- Label the flask with the solution name, concentration, and date if needed.
- Keep the flask upright to prevent spillage.
- If the solution is sensitive to light, store it in an amber volumetric flask or in a dark location.
7. Cleaning and Maintenance
- Rinse the flask immediately after use to prevent contamination.
- Use mild detergent, distilled water, and a brush for cleaning if residue is present.
- Allow the flask to air dry completely before storing.
How to Read a Volumetric Flask
Accurately reading a volumetric flask is crucial for precise measurements in laboratory work. Below are the key steps and considerations for correctly reading the volume of liquid in a volumetric flask.
1. Position Your Eye at the Correct Level
- Ensure your eye is level with the calibration mark (the etched line on the neck of the flask).
- Looking from above or below can lead to parallax errors, causing inaccurate readings.
2. Identify the Meniscus
- The meniscus is the curved surface of the liquid inside the flask.
- For water and most liquids, the meniscus curves downward (concave) due to surface tension.
- For mercury and some other liquids, the meniscus curves upward (convex)—though mercury is rarely used in volumetric flasks.
3. Align the Meniscus with the Calibration Mark
- The correct volume is read when the bottom of the meniscus (lowest point of the curve) just touches the calibration line.
- For dark or colored liquids, align the top of the meniscus with the mark if necessary.
4. Use Proper Lighting
- Read the volume in a well-lit area to clearly see the meniscus.
- Placing a white card behind the flask can improve visibility, especially for colorless liquids.
Common Mistakes to Avoid
❌ Reading the meniscus from an angle (causes overestimation or underestimation).
❌ Overfilling past the mark (leads to inaccurate solution concentration).
❌ Holding the flask in hand while reading (body heat can slightly expand the liquid).
Volumetric Flask vs. Graduated Cylinder: Key Differences
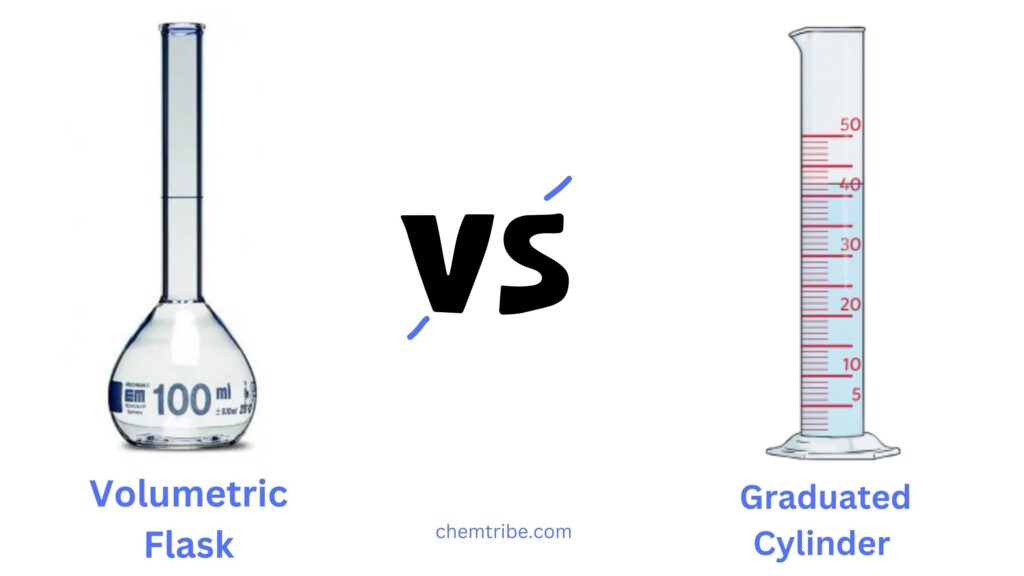
Both volumetric flasks and graduated cylinders are essential laboratory glassware used for measuring liquid volumes, but they serve different purposes. Here’s a detailed comparison:
| Feature | Volumetric Flask | Graduated Cylinder |
|---|---|---|
| Purpose | Designed for precise and accurate measurement of a single fixed volume (e.g., 100 mL, 250 mL). | Used for measuring a range of liquid volumes with moderate accuracy. |
| Accuracy & Precision | Higher precision (Class A flasks have very low tolerance errors). | Less precise; tolerances are wider compared to volumetric flasks. |
| Graduations | Only one calibration mark for a fixed volume. | Multiple graduation marks for various volume measurements. |
| Shape | Pear-shaped or flat-bottomed with a long, narrow neck. | Tall, cylindrical shape with a wide base. |
| Usage | Used for preparing and diluting solutions to an exact concentration. | Used for measuring, transferring, or roughly estimating liquid volumes. |
| Common Sizes | 1 mL to 10 L, with specific fixed capacities. | 10 mL to 2 L, with incremental graduations (e.g., 1 mL, 5 mL). |
| Stopper | Usually comes with a stopper for sealing solutions. | Open top, sometimes with a pouring spout. |
| Mixing Capability | Designed for solution preparation—can be inverted for thorough mixing. | Not ideal for mixing; stirring can cause liquid loss due to open top. |
| Material | Glass (borosilicate, amber-tinted) or plastic (PP, PMP). | Glass or plastic, often thicker for durability. |
When to Use a Volumetric Flask vs. a Graduated Cylinder
✔ Use a Volumetric Flask When:
- You need high accuracy in solution preparation.
- Preparing standard solutions for analytical work.
- Diluting solutions to a precise concentration.
✔ Use a Graduated Cylinder When:
- You need to measure and transfer different liquid volumes.
- Performing quick volume estimates where high precision isn’t required.
- Measuring reagents before mixing them in another container.
Key Takeaway
Volumetric flasks are best for precision and exact solution preparation, while graduated cylinders offer flexibility in measuring different liquid volumes but with less accuracy.
Volumetric Flask vs. Erlenmeyer Flask: Key Differences
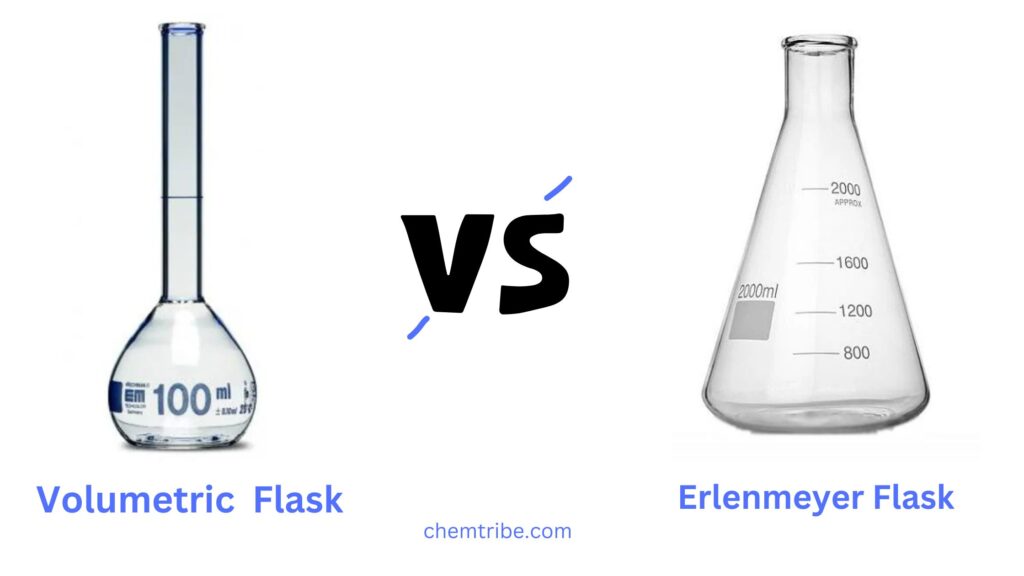
Both volumetric flasks and Erlenmeyer flasks are used in laboratories, but they serve different functions. Below is a detailed comparison:
| Feature | Volumetric Flask | Erlenmeyer Flask |
|---|---|---|
| Purpose | Designed for precise and accurate measurement of a single, fixed volume. | Used for mixing, heating, and storing liquids rather than precise measurements. |
| Accuracy & Precision | Highly accurate (Class A flasks have minimal tolerance errors). | Low accuracy—not used for precise measurements. |
| Graduations | Has only one calibration mark for a fixed volume. | May have approximate volume markings, but not for precise measurements. |
| Shape | Pear-shaped with a narrow, long neck. | Conical shape with a wide base and narrow neck. |
| Usage | Used for preparing standard solutions and diluting substances to an exact concentration. | Used for titrations, mixing, and heating solutions. |
| Common Sizes | 1 mL to 10 L, with exact fixed capacities. | 50 mL to 5 L, commonly used for reaction mixtures. |
| Stopper | Comes with a stopper for sealing solutions. | May have a stopper or be covered with a watch glass or cotton plug. |
| Mixing Capability | Can be inverted for uniform mixing without spilling. | Swirling and stirring are easier due to its wide base. |
| Heating Compatibility | Not meant for heating, as heat can alter the volume. | Heat-resistant (made of borosilicate glass), making it ideal for heating solutions. |
| Material | Glass (borosilicate, amber-tinted) or plastic (PP, PMP). | Mostly borosilicate glass, designed for chemical resistance and heating. |
When to Use a Volumetric Flask vs. an Erlenmeyer Flask
✔ Use a Volumetric Flask When:
- You need high accuracy in measuring a fixed liquid volume.
- Preparing standard solutions for titrations or chemical analysis.
- Diluting solutions to a precise concentration.
✔ Use an Erlenmeyer Flask When:
- You need to mix chemicals by swirling.
- Performing titrations (since the conical shape prevents splashing).
- Heating solutions on a hot plate or over a flame.
Key Takeaway
A volumetric flask is for precise measurements and solution preparation, while an Erlenmeyer flask is for mixing, heating, and general lab work where high precision isn’t necessary.
Would you like a section on common lab experiments using these flasks? Let me know the next subtopic!
Why Are Volumetric Flasks More Accurate?
Volumetric flasks are designed to provide highly precise and accurate liquid measurements, making them superior to other types of lab glassware like beakers, graduated cylinders, or Erlenmeyer flasks. Below are the key reasons for their accuracy:
1. Single Calibration Mark for Fixed Volume
Unlike graduated cylinders, which have multiple graduation marks, volumetric flasks have only one calibration mark (etched line on the neck). This ensures that a precise volume is measured every time, minimizing user error.
2. Narrow Neck for Precise Readings
- The narrow neck of a volumetric flask reduces errors when aligning the meniscus with the calibration mark.
- A small change in liquid level results in minimal volume variation compared to wide-necked containers like beakers.
3. High-Quality Manufacturing Standards
- Class A volumetric flasks have the highest accuracy, with extremely low tolerance errors (e.g., ±0.04 mL for a 100 mL flask).
- Class B flasks are slightly less precise but still more accurate than other lab glassware.
4. Designed for Minimal Error in Meniscus Reading
- The narrow neck and single calibration mark reduce the likelihood of misreading the meniscus.
- In contrast, graduated cylinders have multiple markings, increasing the chance of reading errors.
6. Smooth Interior Surface Prevents Residue Retention
- The interior of a volumetric flask is specially designed to minimize liquid adhesion.
- This ensures that the entire measured volume is used and no residual liquid remains on the walls, which could alter concentration.
Comparison of Accuracy with Other Glassware
| Glassware | Accuracy | Tolerance for 100 mL (Class A) |
|---|---|---|
| Volumetric Flask | High | ±0.04 mL |
| Graduated Cylinder | Moderate | ±0.5 mL |
| Beaker | Low | ±5.0 mL |
| Erlenmeyer Flask | Low | Not designed for precise measurements |
Key Takeaway
Volumetric flasks are the most accurate for liquid measurement due to their precise calibration, narrow neck design, and strict manufacturing standards. They are ideal for preparing solutions with exact concentrations in laboratory settings.
Safety Precautions When Using a Volumetric Flask
Proper handling of volumetric flasks is essential to ensure accurate measurements, prevent contamination, and maintain safety in the laboratory. Here are key safety precautions to observe:
1. Handle with Care to Prevent Breakage
✔ Use both hands when carrying a volumetric flask, supporting the bottom to avoid accidental drops.
✔ Avoid sudden temperature changes (e.g., adding hot liquids), as this can cause glass breakage.
✔ Place the flask on a stable, flat surface when filling or measuring liquids.
2. Use the Correct Flask for the Chemical
✔ Check if the flask is glass or plastic and choose accordingly:
- Glass flasks (borosilicate) are best for most chemicals but can break.
- Plastic flasks (polypropylene) are resistant to acids but may react with organic solvents.
✔ Ensure the flask is chemical-resistant for the liquid being used.
3. Prevent Contamination and Spills
✔ Always clean the flask before and after use to remove residues from previous solutions.
✔ Use distilled or deionized water when preparing solutions to avoid impurities.
✔ Avoid overfilling the flask—only fill to the calibration mark.
4. Use Proper Filling Techniques
✔ Add liquids slowly using a pipette, funnel, or burette to prevent splashing.
✔ Never pour directly from a large reagent bottle—use a smaller container for controlled transfer.
✔ If a chemical generates heat when mixed with water (e.g., sulfuric acid), add the chemical to water, not the other way around to prevent splattering.
5. Avoid Direct Contact with Harmful Chemicals
✔ Wear gloves, safety goggles, and a lab coat when handling corrosive or hazardous substances.
✔ Use a fume hood for volatile, toxic, or strong-smelling chemicals.
✔ If a spill occurs, clean it immediately using proper spill management protocols.
6. Secure the Stopper Properly
✔ Ensure the stopper fits securely to prevent leaks or evaporation.
✔ When mixing solutions, invert the flask gently, holding the stopper firmly in place.
✔ Avoid shaking vigorously, as this may cause air bubbles and inaccurate volume readings.
7. Store Properly After Use
✔ Empty and clean the flask thoroughly before storing it.
✔ Store flasks upright in a designated glassware cabinet to prevent tipping.
✔ Keep away from direct sunlight and extreme temperatures to maintain calibration accuracy.


